![]()
Making a Chattertool Handle |
by Ken Grunke |
|
|
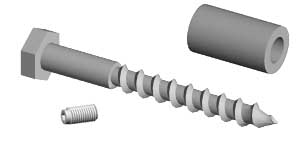
Parts needed:
|
|
Tools needed:
|
|
|
|
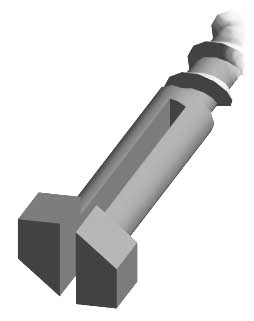
Next, drill and tap through the shank of the
lagscrew 1/4-28 (10-24 or 12-24 will be fine as well). It
should be 1/4 to 5/16 in. from the bottom of the hexhead.
Make sure you centerpunch the spot first. Here's a trick for
getting right on, or very close to center: |
|
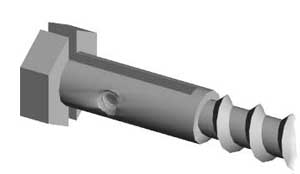
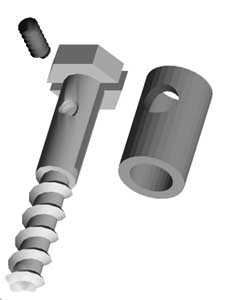
Aside from making a handle, we're almost done. Except for one thing: When tightening the setscrew on the blade, what's to keep the two halves of the screw head from spreading apart? | |
|
Well, that's where the collar comes in. It doesn't have to be thick-walled pipe, in fact copper tubing will do if it fits without play on the lagscrew's shank. But this is the part that rides on the lathe toolrest, so steel would be better. I used a fairly new 3/8 in. drill bit to enlarge the hole in a 1/4 in. galvanized pipe nipple, held in a vise. Cutting oil is reccommended for this. The clearance hole for the setscrew isn't critical, just
measure, mark, and centerpunch for it so the hole ends up
over the setscrew when the collar is up against the head of
the lagscrew. |
|
|
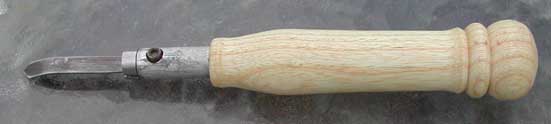
Now, just make yourself a nice handle, with a hole drilled to accept the lag screw. Snug it up tight against the collar, you can grind down the hex points flush with the collar as I did with mine:
| |
|
If you can't find 1/16 inch carbon steel, try a sabersaw blade--grind off the teeth and bend the end 1/2 inch back from the tip to about 10-15 degrees. I like a round-nosed tip, you can experiment with different shapes. | |
Design, text and drawings by Ken Grunke © Feb. 2002, using the 3D graphics program form Z--for both Mac or Windows